Bootstrap Radio Style
Introduction
In certain cases the compact aspects come to be definitely the very crucial considering that the whole image is in fact a whole including several mini aspects finished and gathered to feature and look like a well-oiled bright machine. These spicy phrases might actually appear a bit too much when it comes down to make commands but assuming that you just consider about it for a little there is definitely only a single element making it possible for the site visitor to grab one among a several obtainable alternatives. And so if you are actually featuring some forms through this sort of options controls over your different web sites does this guarantee they are going to all look similar? And most significantly-- would you go for that?
Fortunately for us the current edition of one of the most well-known mobile friendly framework - Bootstrap 4 arrives entirely stacked with a brilliant brand new treatment to the responsive behavior of the Bootstrap Radio Toggle regulations and what exactly is bright new for this version-- the so called custom form controls-- a palette of predefined looks you can certainly simply take and utilize in order to incorporate the so wanted nowadays assortment in the visional presentations of basically uninteresting form components. In this way let's take a look how the radio switches are suggested to be described and styled in Bootstrap 4. ( additional reading)
Efficient ways to utilize the Bootstrap radio button:
For you to make a radio button we first require a
<div>.form-check.form-check-inline.radio.radio-inline.disabledWithin the
.form-check<label>.form-check-label<input>.form-check-inputtype = “radio”name = “ ~ same name for all the options ~ ”id = “ ~ unique ID ~ “value=” ~some value here ~ ”disabled<input>This is also the location to specify in the event that you desire the radio control to primarily load as checked as soon as the webpage gets loaded. Supposing that this is what you're after-- as an alternative to
disabledchecked<input>checkedCheckbox and even Bootstrap Radio Form for examples
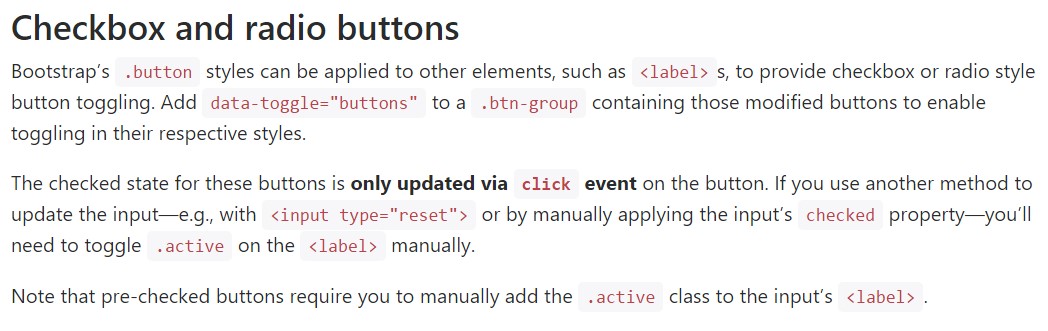
The examined status for all of these buttons is only updated with click event on the button. If you apply one more approach to update the input-- e.g., with
<input type="reset">.active<label>Take note that pre-checked buttons require you to manually add in the
.active<label>Checkbox

<div class="btn-group" data-toggle="buttons">
  <label class="btn btn-primary active">
    <input type="checkbox" checked autocomplete="off"> Checkbox 1 (pre-checked)
  </label>
  <label class="btn btn-primary">
    <input type="checkbox" autocomplete="off"> Checkbox 2
  </label>
  <label class="btn btn-primary">
    <input type="checkbox" autocomplete="off"> Checkbox 3
  </label>
</div>
Radio

<div class="btn-group" data-toggle="buttons">
  <label class="btn btn-primary active">
    <input type="radio" name="options" id="option1" autocomplete="off" checked> Radio 1 (preselected)
  </label>
  <label class="btn btn-primary">
    <input type="radio" name="options" id="option2" autocomplete="off"> Radio 2
  </label>
  <label class="btn btn-primary">
    <input type="radio" name="options" id="option3" autocomplete="off"> Radio 3
  </label>
</div>
Radio button approach
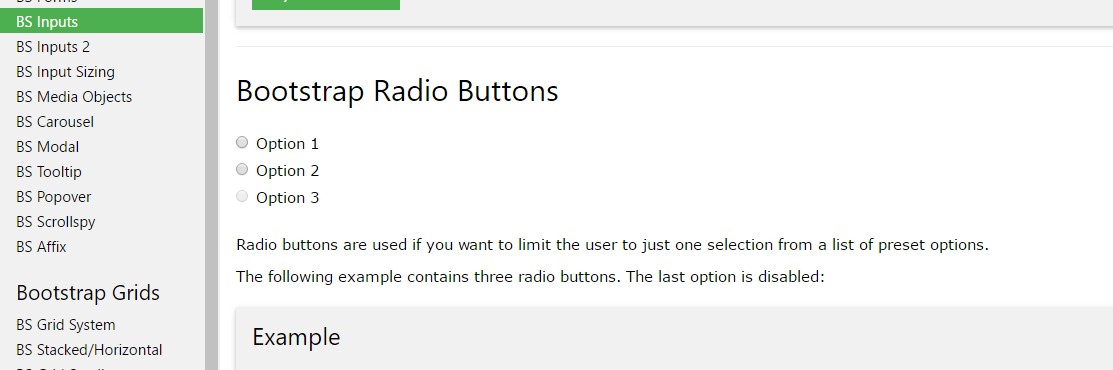
We can easily utilize input elements of the radio type when we prefer the user to select only one of a variety of possibilities. ( discover more here)
While there is much more than one particular element of this particular style with the exact same value with the name attribute, just one can be picked.

<div class="row">
  <div class="col-lg-6">
    <div class="input-group">
      <span class="input-group-addon">
        <input type="checkbox" aria-label="Checkbox for following text input">
      </span>
      <input type="text" class="form-control" aria-label="Text input with checkbox">
    </div>
  </div>
  <div class="col-lg-6">
    <div class="input-group">
      <span class="input-group-addon">
        <input type="radio" aria-label="Radio button for following text input">
      </span>
      <input type="text" class="form-control" aria-label="Text input with radio button">
    </div>
  </div>
</div>
Conclusions
Basically this is the manner in which the default radio buttons get identified and perform throughout within Bootstrap 4-- right now all you really need are several solutions for the site visitors to choose from.
Take a look at a number of online video information about Bootstrap Radio Button:
Linked topics:
Bootstrap buttons official records
Bootstrap Radio button - short training
Checkbox radio buttons break entire toolbar styling
