Bootstrap Login forms Layout
Introduction
Sometimes we require to take care of our priceless material to provide access to only several people to it or else dynamically individualize a part of our web sites baseding upon the certain viewer that has been viewing it. But how could we possibly know each certain website visitor's persona since there are simply a lot of of them-- we must get an efficient and convenient approach learning more about who is whom.
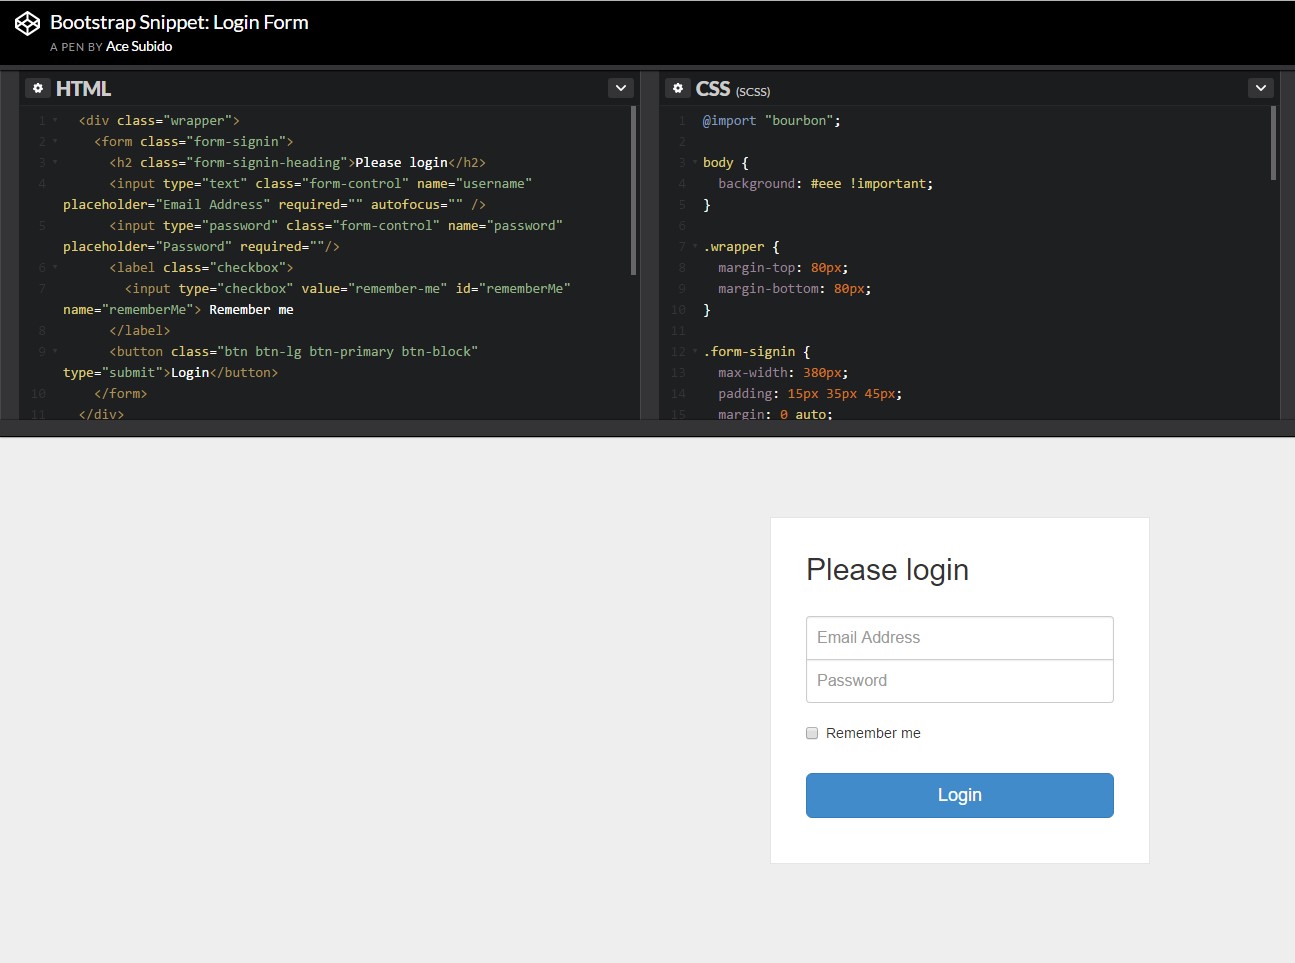
This is where the site visitor accessibility monitoring arrives primary engaging with the site visitor with the so familiar login form feature. Inside of the current fourth edition of probably the most prominent mobile friendly web site page production framework-- the Bootstrap 4 we have a plenty of features for producing this sort of forms so what we're planning to do right here is taking a look at a specific example exactly how can a basic login form be produced using the helpful instruments the current version comes with. ( read here)
Effective ways to employ the Bootstrap Login forms Popup:
For beginners we require a
<form>Inside of it several
.form-groupUsually it's easier to apply user's mail in place of making them determine a username to authorize to you considering that typically anybody knows his email and you can easily always question your site visitors another time to exclusively give you the approach they would certainly like you to address them. So within the first
.form-group<label>.col-form-labelfor = " ~ the email input which comes next ID here ~ "After that we need an
<input>type = "email"type="text"id=" ~ some short ID here ~ ".form-controltypeNext comes the
.form-group<label>.col-form-labelfor= " ~ the password input ID here ~ "<input>After that goes the
.form-group<label>.col-form-labelfor= " ~ the password input ID here ~ "<input>Next we need to put an
<input>.form-controltype="password"id= " ~ should be the same as the one in the for attribute of the label above ~ "Ultimately we require a
<button>type="submit"An example of login form
For even more organized form layouts that are also responsive, you are able to implement Bootstrap's predefined grid classes or mixins to create horizontal forms. Bring in the
. row.col-*-*Make sure to add
.col-form-label<label><legend>.col-form-legend<label>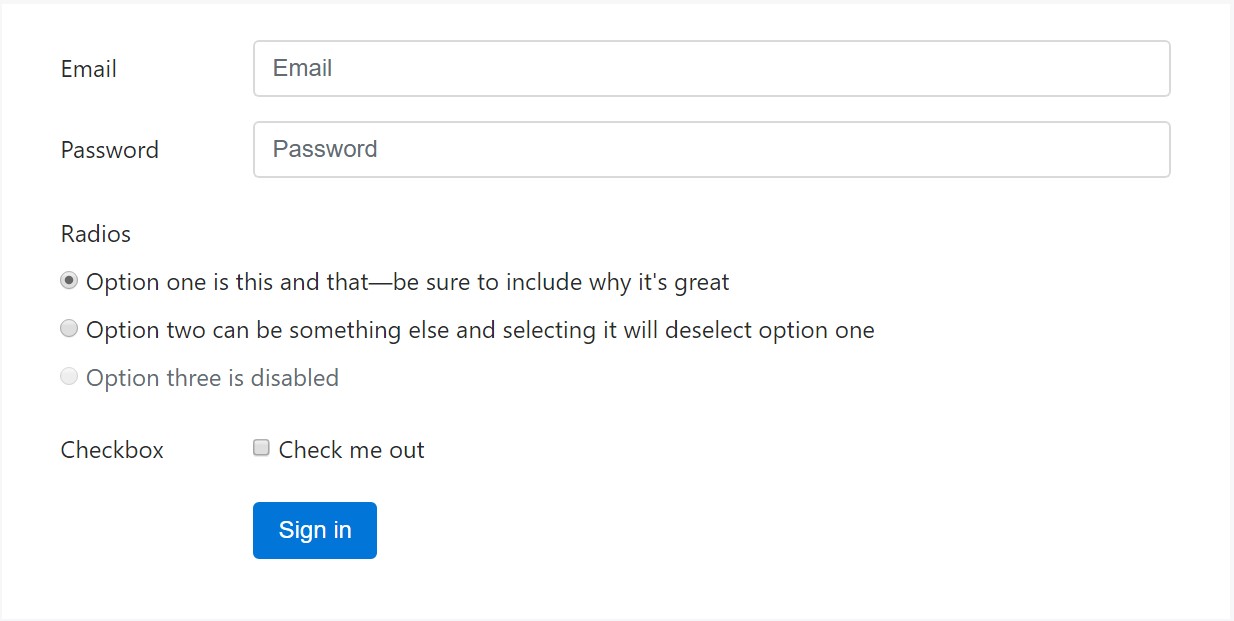
<div class="container">
  <form>
    <div class="form-group row">
      <label for="inputEmail3" class="col-sm-2 col-form-label">Email</label>
      <div class="col-sm-10">
        <input type="email" class="form-control" id="inputEmail3" placeholder="Email">
      </div>
    </div>
    <div class="form-group row">
      <label for="inputPassword3" class="col-sm-2 col-form-label">Password</label>
      <div class="col-sm-10">
        <input type="password" class="form-control" id="inputPassword3" placeholder="Password">
      </div>
    </div>
    <fieldset class="form-group row">
      <legend class="col-form-legend col-sm-2">Radios</legend>
      <div class="col-sm-10">
        <div class="form-check">
          <label class="form-check-label">
            <input class="form-check-input" type="radio" name="gridRadios" id="gridRadios1" value="option1" checked>
            Option one is this and that—be sure to include why it's great
          </label>
        </div>
        <div class="form-check">
          <label class="form-check-label">
            <input class="form-check-input" type="radio" name="gridRadios" id="gridRadios2" value="option2">
            Option two can be something else and selecting it will deselect option one
          </label>
        </div>
        <div class="form-check disabled">
          <label class="form-check-label">
            <input class="form-check-input" type="radio" name="gridRadios" id="gridRadios3" value="option3" disabled>
            Option three is disabled
          </label>
        </div>
      </div>
    </fieldset>
    <div class="form-group row">
      <label class="col-sm-2">Checkbox</label>
      <div class="col-sm-10">
        <div class="form-check">
          <label class="form-check-label">
            <input class="form-check-input" type="checkbox"> Check me out
          </label>
        </div>
      </div>
    </div>
    <div class="form-group row">
      <div class="offset-sm-2 col-sm-10">
        <button type="submit" class="btn btn-primary">Sign in</button>
      </div>
    </div>
  </form>
</div>
Final thoughts
Basically these are the basic features you'll require to create a standard Bootstrap Login forms Dropdown with the Bootstrap 4 system. If you angle for some more challenging presences you are simply free to get a complete advantage of the framework's grid system organizing the elements pretty much any way you would feel they must occur.
Take a look at a few video clip training relating to Bootstrap Login forms Code:
Linked topics:
Bootstrap Login Form approved documentation

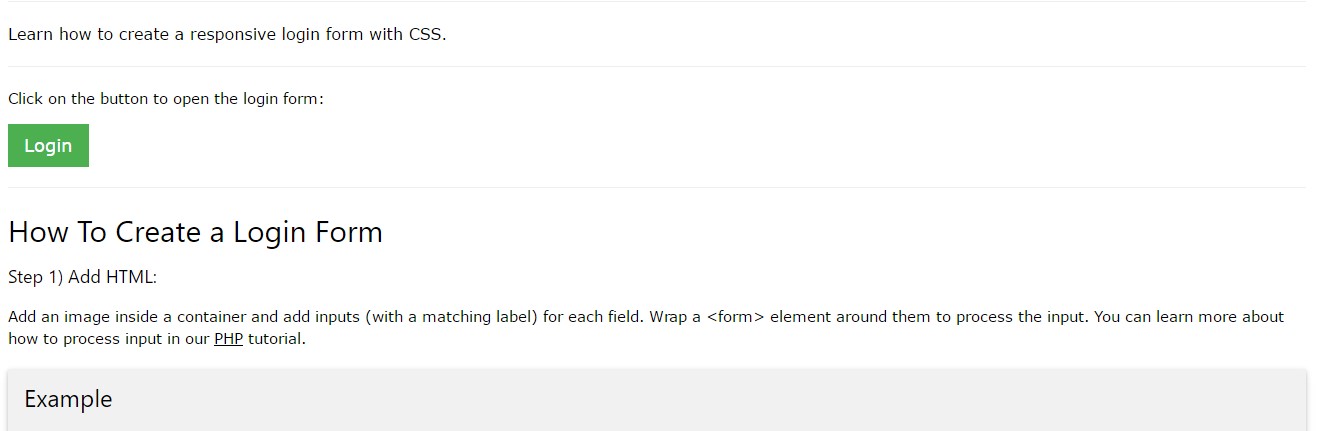
Guide:How To Create a Bootstrap Login Form
Other example of Bootstrap Login Form